
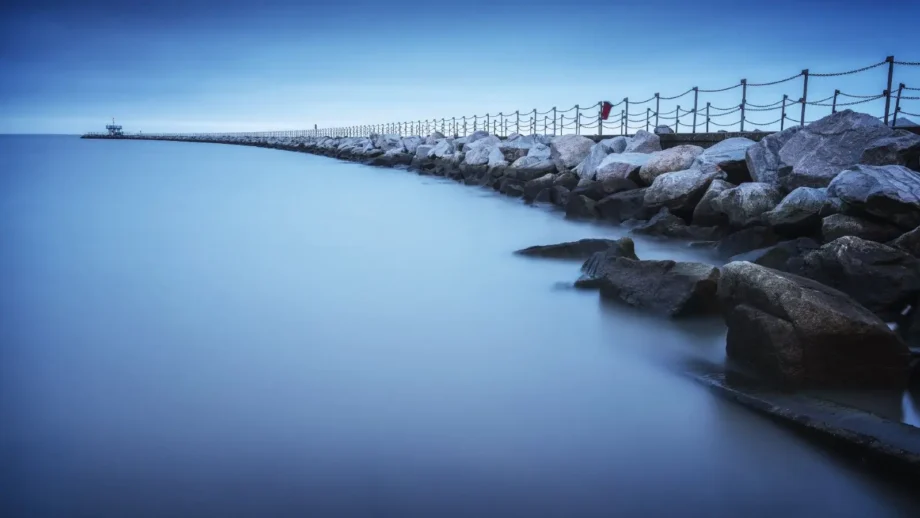
Landscape photography is made easier with the right equipment, but it’s the composition that makes the real difference.
The first choice to make when shooting a landscape is the focal length you are going to use. The natural instinct when you are presented with a beautiful scene is to try and get it all in the shot, pulling back to the widest angle your lens can manage. However, there are many approaches to capturing a scene, from ultra-wide to super-telephoto – and you should consider all of the options before pressing the shutter button. It is good to remember that your eyes see at a fixed focal length, so any other focal length you use is, in a way, distorting and reinterpreting reality.
Wide angles increase the sense of distance in the shot, exaggerating perspective and can be used creatively to juxtapose foreground and background elements. Long focal lengths conversely flatten perspective, allowing you to ‘compress’ what you are seeing.
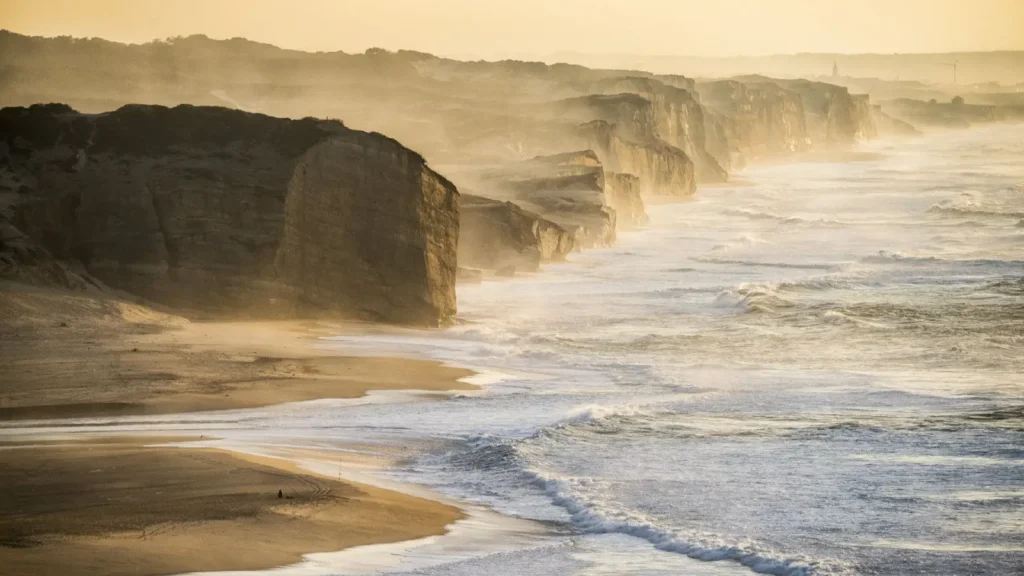
When shooting with a wide-angle, actively consider the perceived ‘distance’ in the shot — often, big shots of landscapes lack anything in the foreground to focus on or tether the shot together as a complete composition, while many great coastal shots feature rocks/stones/running water or other objects in the foreground to lead the eye to the rest of the frame. Likewise, one can feature stone walls, trees, fences, streams and the like in the foreground of inland shots to act as ‘leading lines’ to strengthen the composition. If you are presented with a scene without an obvious foreground — a grassy valley, for instance — look out for patterns or texture, light or contrast to build a strong image.
Reaching out with a telephoto can add a wholly different kind of impact to your shots. Firstly, you are forced to consider precisely which part of a scene you want to capture, a process that inherently strengthens composition. Secondly, the effects of compression that a telephoto provides give a sense of graphical drama – such as the coastal shot above. If a wide angle had been used here, the impact of the whole coastline would have been diminished by the inclusion of a cluttered foreground of rooftops and roadways leading to the beach. Likewise, with a long lens, I could reduce the composition to two distinct colours (sea blue and golden sand) divided by a single, roughly diagonal line.

Once you have chosen your focal length, a top tip for strong composition is to think of the ‘rule of thirds’. This rule suggests dividing the image into thirds (both horizontally and vertically) and placing objects of interest at the intersections of these lines. Many camera viewfinders can display these lines overlaid in-view or on-screen – so delve into the settings and look for viewfinder adjustments.

You can also consider it a way of dividing the image into separate areas – try to keep something interesting happening in each area! As with every rule, they are there to be broken, and once you have experimented with thirds, try thinking in 5ths or finding strong leading lines in the composition – as in the opening shot, reducing an otherwise busy harbour to a single curved path through the image.
Going Into Depth
Once you have got the composition you want, it is time to work through the other technical aspects that make the shot, which include:
- Aperture of the lens
- Shutter speed
- ISO setting
- The processing setting or scene mode
Choosing the correct aperture is a simple case of deciding the effect of depth-of-field (DOF) you want to introduce. The larger the aperture you use (lower f/number), the shallower the DOF; the smaller the aperture (higher f/number), the deeper the depth of field. Often, but not always, landscape shots benefit from a deep depth of field (keeping everything sharp), so set your camera to control aperture. For zoom lenses, try shooting at f/8 to f/11 (often the sharpest setting for this kind of lens) to increase DOF and sharpen up the image. Stop the lens down further (f/16–f/22) for an even greater DOF when you have a lot you want to get in focus front-to-back, but bear in mind that any lens becomes less sharp the closer to its minimum aperture setting it is. This process is called diffraction and is surprisingly similar to squinting through half-closed eyes.
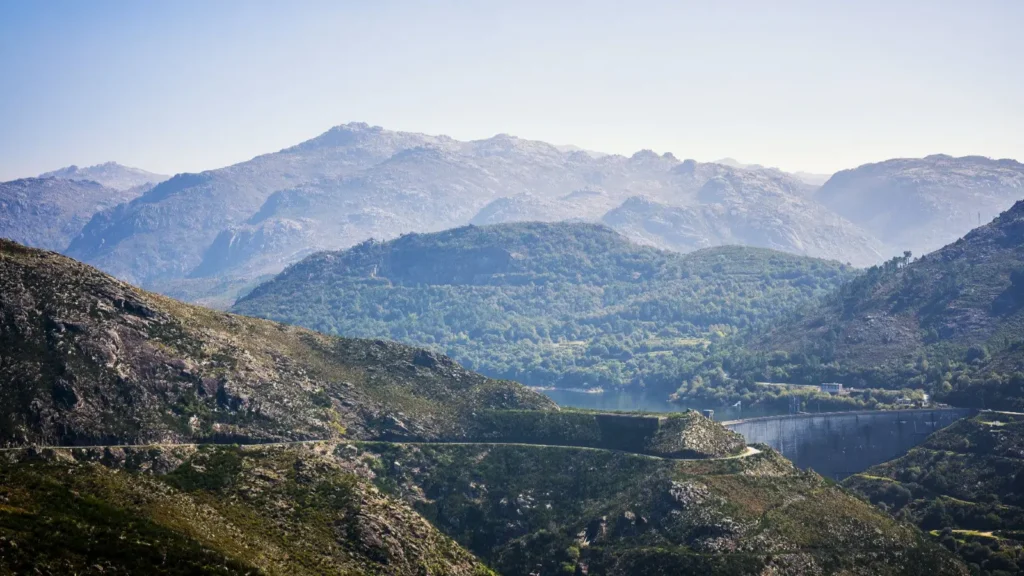
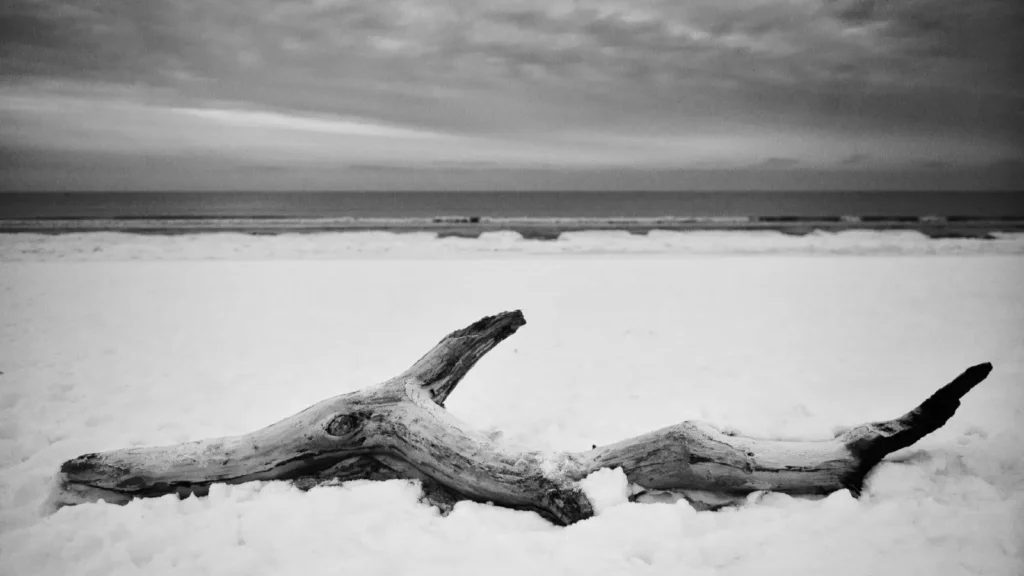
Prime (fixed focal length) lenses tend to be sharper when wide open and have peak sharpness around f/5.6 – although you may need to go well past this for strong foreground-to-background sharpness. The shot of the branch shows a relatively shallow depth of field, isolating the foreground subject in its surreal setting of a frozen beach. However, the beautiful landscape shot above illustrates when tack-sharp detail is required throughout the shot, easily achievable with a 50mm prime lens at its optimal aperture.
When you control the lens’s aperture, be aware of the effect this has on shutter speed. As you close the aperture down to increase DOF, unless you alter the light sensitivity of the camera (ISO), the shutter speed will start to slow. Whilst during bright daylight, this will not have much impact on your shot, in lower light levels, this can lead to camera shake becoming visible in the image. If you note that the shutter speed is falling below a rough guideline value of 1/focal length, i.e. 1/50th a second for a 50mm lens, then increase the ISO to compensate.
Modern cameras can reach insanely high ISO values, allowing you to shoot hand-held under moonlight with a fast (large aperture, i.e. f/1.4, f/1.8) prime lens. However, this comes with a compromise: the higher the ISO, the more digital ‘noise’ there is in the shot, and consequently, the more automatic noise-reduction is applied as the file is actually written to the memory card, reducing the sharpness of the image.
If you want to keep the noise in the shot low, pop the camera on a tripod, carefully balance it on whatever you have to hand, keep the ISO low, and switch over to Manual mode. Here, you can keep the ISO low, keep the lens stopped down for sharpness, and manually increase the shutter speed to ensure a good exposure.
An ISO top tip: many modern cameras have a built-in Auto-ISO function that will increase the setting based on exposure time. It’s almost always in the camera’s Settings menu – you set the minimum shutter speed at which to increase ISO and the maximum allowed value. This is a very handy setting to have switched on 90% of the time, but always switch this off and set the ISO manually when using Manual mode.
Many compacts, micro 4/3rds and dSLRs have scene modes built-in – sometimes buried in menus, often on a separate dial depending on the camera model. Swinging this round to the Landscape setting can add tone and contrast to an image, and it is well worth experimenting with these modes to get the depth of colour you want.
Fine Tuning
Now the focal length, aperture, ISO and colour are set on the camera – you are very nearly ready to hit the button. One final thing to consider is exposure compensation. It is one of the niftiest tools on a digital camera: you can directly override what the camera’s light meter suggests is the ‘correct’ exposure and get exactly what you think is correct!
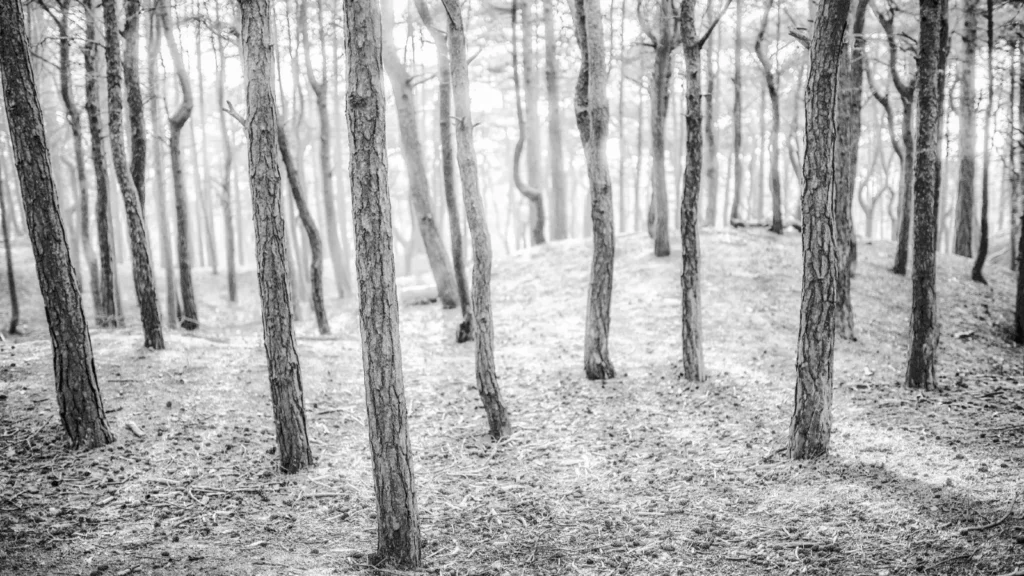
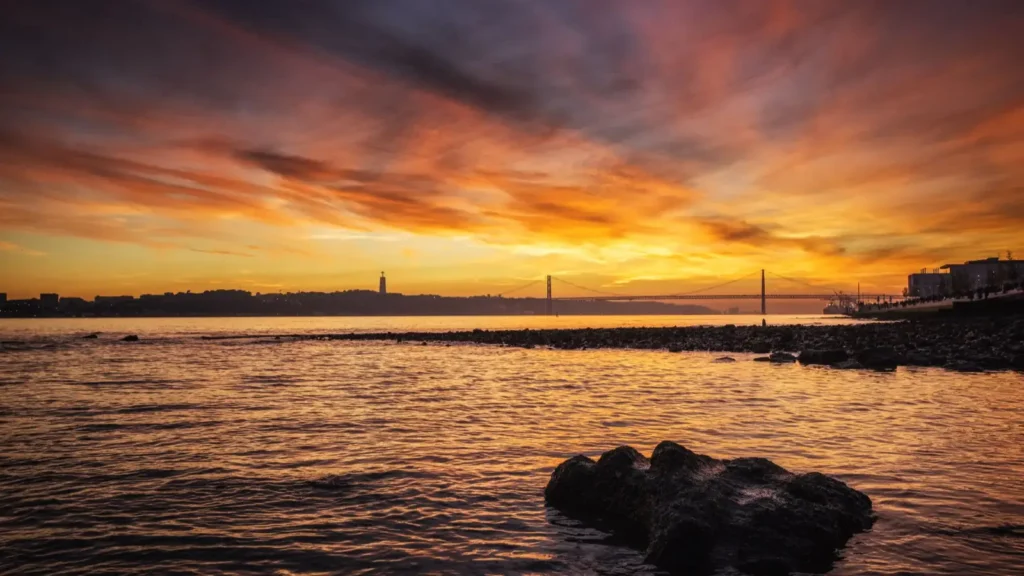
Indicated by a +/- symbol, exposure compensation resides either in a menu for basic dSLRs, on an external button for higher-end models or even on its own dedicated dial on some mirrorless cameras. Dial in a negative value (-) to reduce exposure, darkening the shot overall. This may lose some detail in dark areas of the shot but boosts colours significantly, and large values (-1.0 and lower) can turn sunset shadows into silhouettes and make colours incredibly vibrant. Dial in a positive (+) value to lift the exposure toward lighter tones. On a flat, grey day, positive exposure compensation can brighten greys toward white and lift otherwise gloomy shots – as in the woods shot above.
Both shots used extreme compensation values but would otherwise not have worked as well – the woods would be very flat and lack apparent contrast. In contrast, the bridge shot would have bleached out the majority of colour from an incredible sky.
Ready, Aim, Fire
This may seem like a daunting set of considerations to run through before you take a shot. Still, with a little bit of persistence of method, these factors become second nature – to the point that when technically familiar with how your particular camera and lenses behave, you can make most of these assessments before you have even raised the camera to your eye!
Understanding how to frame a shot and get the right exposure will unleash the creativity in you as your shots improve – and turn holiday snaps into beautiful images you will want to frame on the wall.

- Driven: Rolls-Royce Ghost Series II — Luxury evolved - 6 May 2025
- Driven by vision: The Aston Martin Lagonda Series 2 revisited - 22 April 2025
- Ogio Introduces Limited-Edition Agave Ahora Golf Bag Collection - 25 May 2024