
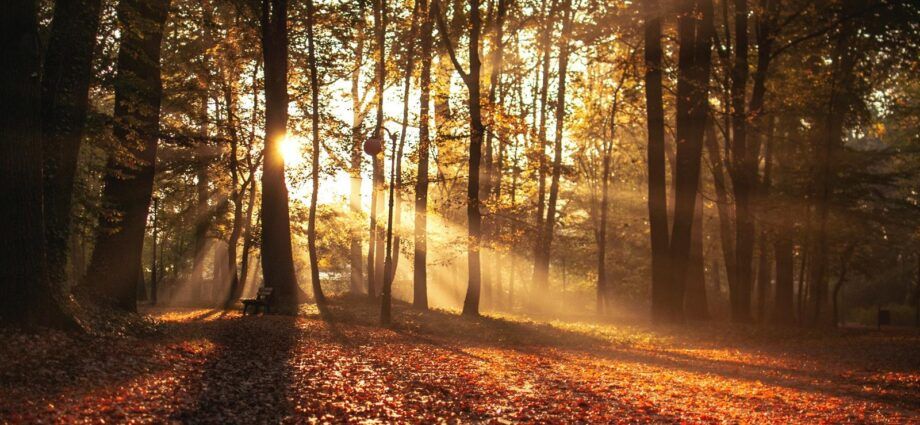
Autumn, winter, and the changing of the seasons are times when exceptional light and extreme conditions can provide the perfect inspiration for your photography.
Despite the challenges the weather might provide, this is the perfect time of year to take your camera out and capture the world around you. From the foliage on the trees changing through their vibrant hues, leaving behind skeletal branches, to early morning mists rising over the land and snow wrapping the world in a brilliant blanket, the colder seasons of the year provide some of the most spectacular opportunities for landscape and outdoor photography.
Exploring the Land
There are many great locations around the country to experience the turning leaves of autumn, where the brilliant colour of foliage becomes the prime focus of your images. However, shooting in forests or amongst trees can provide some surprising technical challenges.
Choosing the right lens is the first challenge, especially if you have a range to pick from! A natural instinct would be to reach for your wide-angle, and often, wide lenses can produce spectacular images in this kind of usage.
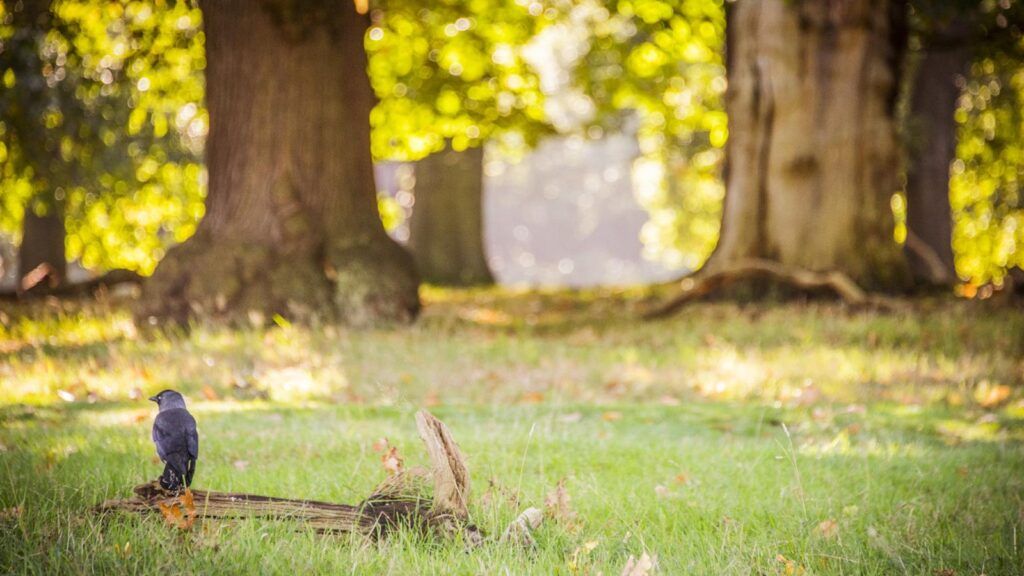
In order, however, to produce an interesting interpretation of the landscape around you it is often worth packing a long zoom in your bag. For instance, whilst the jackdaw image above (taken at 200mm using a long telephoto) could have been a relatively quick throwaway snap, the ability that a longer lens gives you to highlight the subject of a shot with a shallow depth of focus, makes for an interesting composition of a typical autumnal scene.
Carrying a fast prime ‘normal’ lens is one of my most frequent recommendations – for DX/APS-c sensors a 35mm f/1.8 would be my first choice, for full-frame sensors a 50mm f/1.4 or f/1.8 – and the ice shot below shows us why.
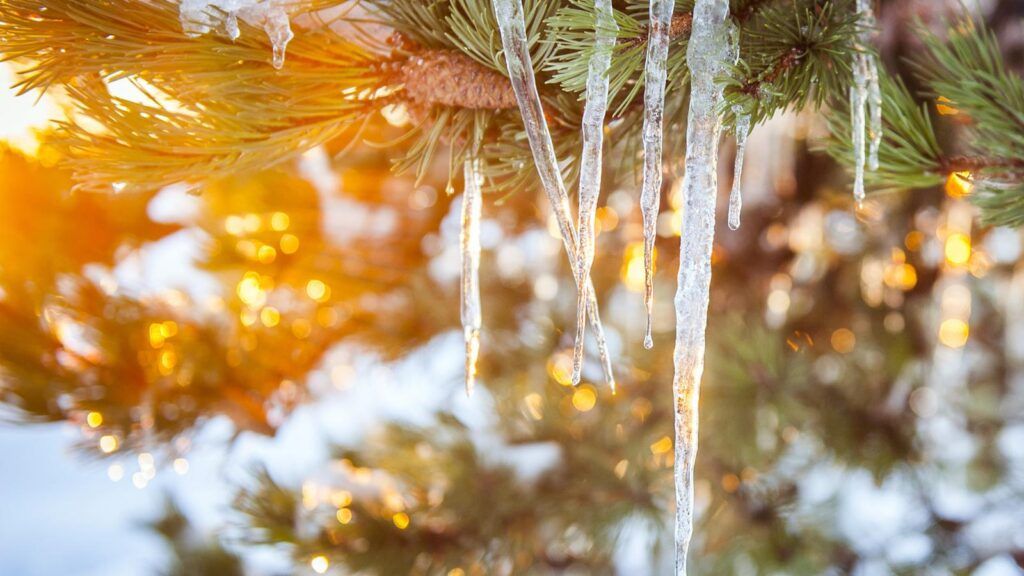
Using a 35mm f/1.8 I was able to isolate the icicles from the background of the tree, whilst simultaneously softening the warm backlight coming from the low winter sun into a very pleasing orange glow, again utilising the shallow depth of field that lenses like this offer.
Once you have packed your bag and are ready to start snapping, there are some simple practical considerations to bear in mind during autumn and winter shooting sessions:
- Shooting amongst trees can be a surprisingly difficult location to get good exposure and colour
- The weather can, and often will, change rapidly
- Temperature can seriously affect your camera’s performance
- Moisture and cameras do not mix particularly well!
Down in the Woods Today
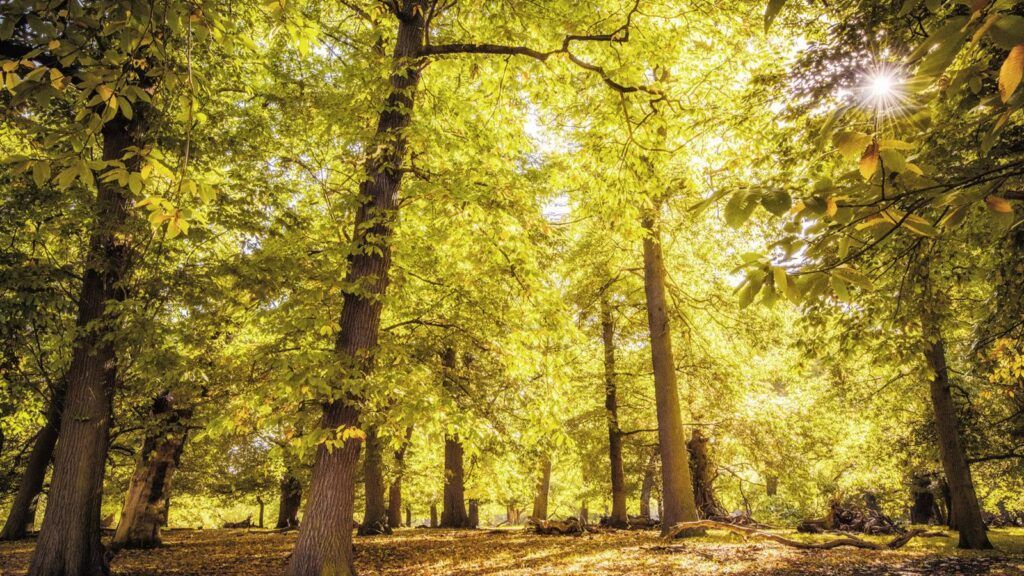
Tackling the high contrast of woodland is the first technical challenge to overcome. The extreme mix of light and shade that one finds in woodland – whilst your eyes can easily adapt to the wild range of contrast – is a real challenge for even the highest performing sensor. Taking the age-old advice of ‘shooting with the light’ (i.e. with the sun behind your back, or to the side), generally can give pleasing results. However, often the most evocative scenes (as with the opening shot) come from backlight or shooting toward the direction of the sun.
Managing your camera’s settings under these conditions can make or break a shot:
- If you shoot RAW your options are broad, as you can retrospectively manage the contrast in the shot. Simply aim to get a good overall exposure using exposure compensation
- If you prefer to shoot straight to jpg, try altering your image settings to lower the contrast. All cameras offer this feature: Nikon calls this Picture Control, Canon Picture Style, and Fuji Film Simulation, for instance. Bringing down the contrast of the setting can help you capture a broad range of tones in the image
- With very bright spots showing through leaves, most cameras will tend to under-expose: dial in some positive exposure compensation using the +/- button to counteract this. The opening shot had +1.67 stops of exposure compensation applied to ensure the colour of the foliage took priority over detail in the visible sky
- The white balance will often be too cool in shady conditions with red/yellow foliage. This is because the camera is essentially tricked by the colours it is ‘seeing’. Manually adjusting the white balance to a warm setting such as ‘shade’ can help bring out great colour. Many cameras offer incremental adjustments to Auto White Balance settings — consult your manual on how to do this, as a small adjustment may be all that is needed to get the colour you want.
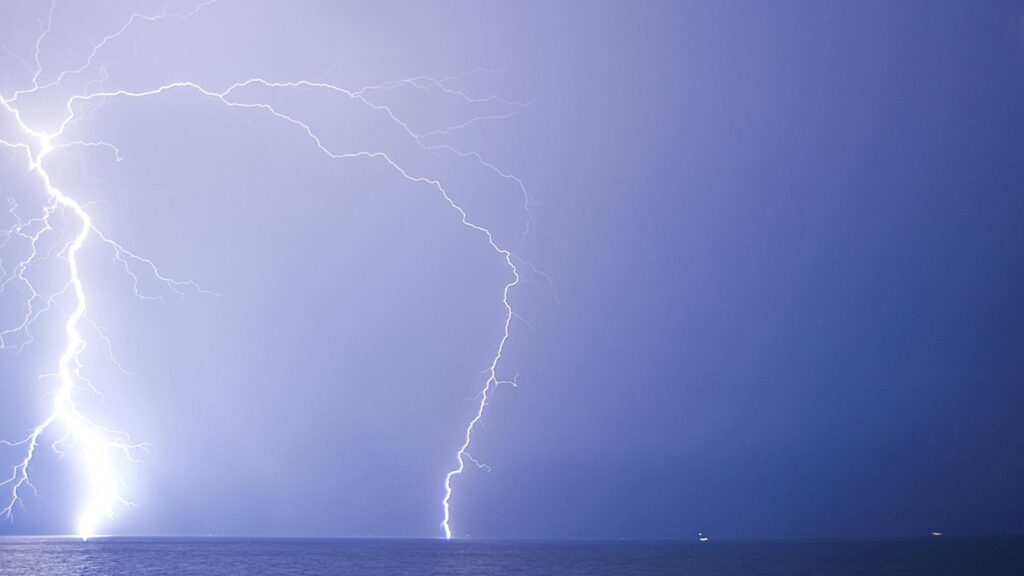
Whilst there is nothing one can do to alter the weather, the range of light on offer when the sun is low in the sky, can be so spectacular that taking some extra precautions to battle the conditions is well worth the effort:
- Carry a plastic bag in your camera bag as an emergency cover for the camera bag itself. If it starts tipping down your gear will be safe
- Check if your lens/body combination is weather-proof/sealed (often visible as a rubber gasket on the mounting plate of the lens). Note that this does not imply true waterproofing (i.e. for submersion). However, if that is the case you can shoot in typically rainy conditions without worrying. Be aware that DSLRs tend to be more weather-sealed/proofed than mirrorless or compact cameras. Shot 4 was taken on the deck of a ferry during a torrential rainstorm using weather-sealed gear — the camera stood up to the conditions considerably better than the photographer!
- Many manufacturers (such as easyCover and GGI) make silicone body skins for a huge range of cameras, toughening up the body to knocks and dings, whilst adding an extra layer of weather sealing.
In the Bleak Midwinter
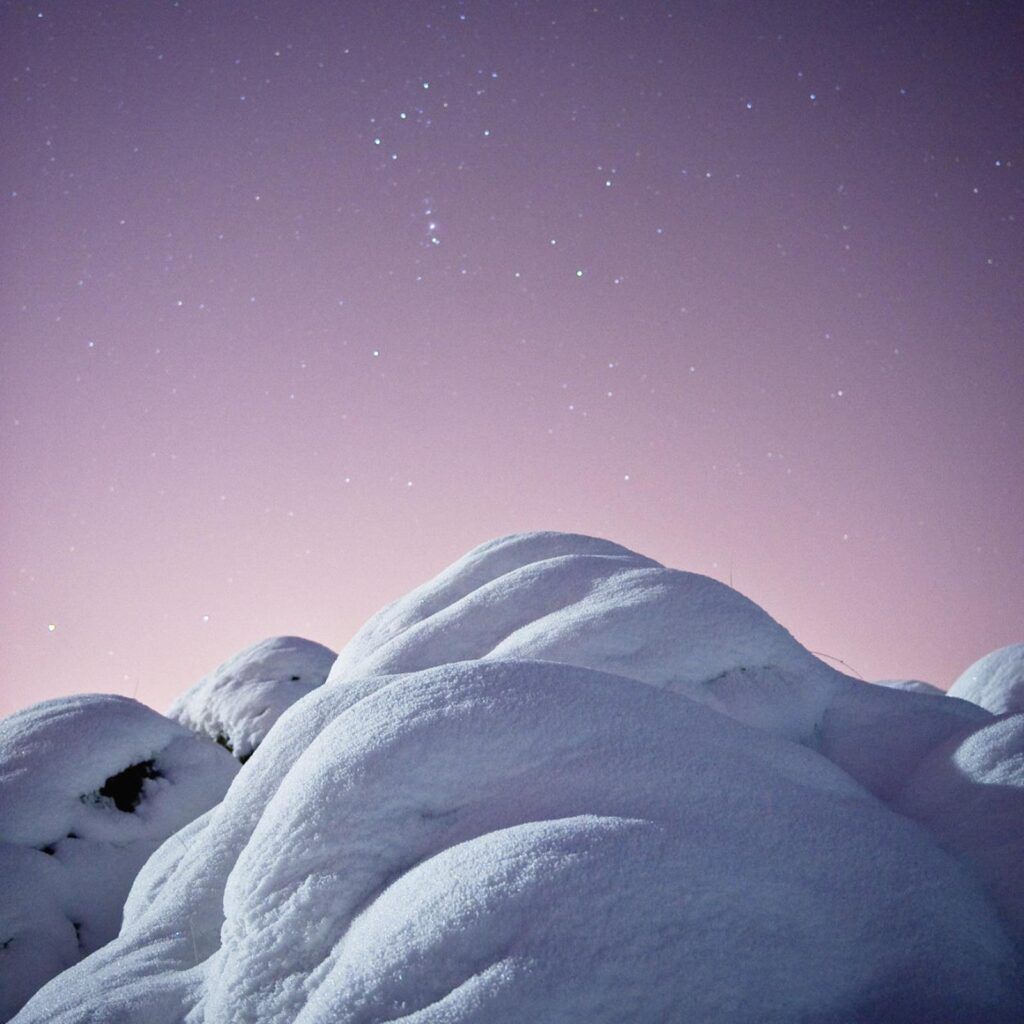
Finally, dealing with the extreme temperatures of winter is something that requires conscious thought in order maintain a happy camera. The shot directly above was taken in the middle of the night after an intense snowfall — the incredibly clear skies that followed the storm encouraged me to get the camera out and see what I could capture. The temperature was extreme for the UK, with localised areas down to -18ºC. Keeping the temperature of your camera under control under these kinds of extremes, or simply when the temperature approaches freezing, is critical.
Top tips for keeping your camera working as well as possible in the cold:
- Avoid any exposure to moisture before taking your camera out in freezing conditions, popping a couple of silica sachets in the bag as far in advance as possible is a great idea, as moisture may freeze, fogging eyepieces or harming circuitry
- Keep the camera in the bag as much as possible. Put it away immediately after you have taken a shot you are happy with to keep it at as high a temperature as you can
- Bring an extra battery: battery performance is seriously impacted by cold conditions
- Avoid breathing on the lens, screen or viewfinder as much as possible as the moisture in your breath may freeze in contact with the chilly glass. Bring a couple of extra lens cloths to wipe things down as required
- Wear sensible gloves: there is nothing worse than freezing hands whilst trying to take beautiful shots. I usually wear heavy gloves with a pair of thin Goretex liners underneath so I can keep my hands as warm as possible when I take the outer gloves off to twiddle with settings. A nice alternative is to try fingerless gloves with a foldable mitten-style top flap. Good camera shops
 will provide an interesting selection of hand-wear ideally suited to keeping shooting in harsh conditions
If the camera freezes up and stops working do not panic! Having frozen several cameras myself, the key is how you warm the body and lens up after freezing. Firstly, take the battery out of the camera whilst still in the cold. Keep the camera and battery IN the bag when you re-enter a warm environment. DO NOT open the bag immediately – leave the bag closed for at least three hours, and never put the bag next to or on top of a radiator. Open the bag a little after this time and let air circulate. After six hours the body should be warm enough to handle. At this point, re-insert the battery and switch it back on. If the camera does not spring to life, try charging the battery — the freezing process can damage the condition of the battery and it may need replacing, however this is rare.
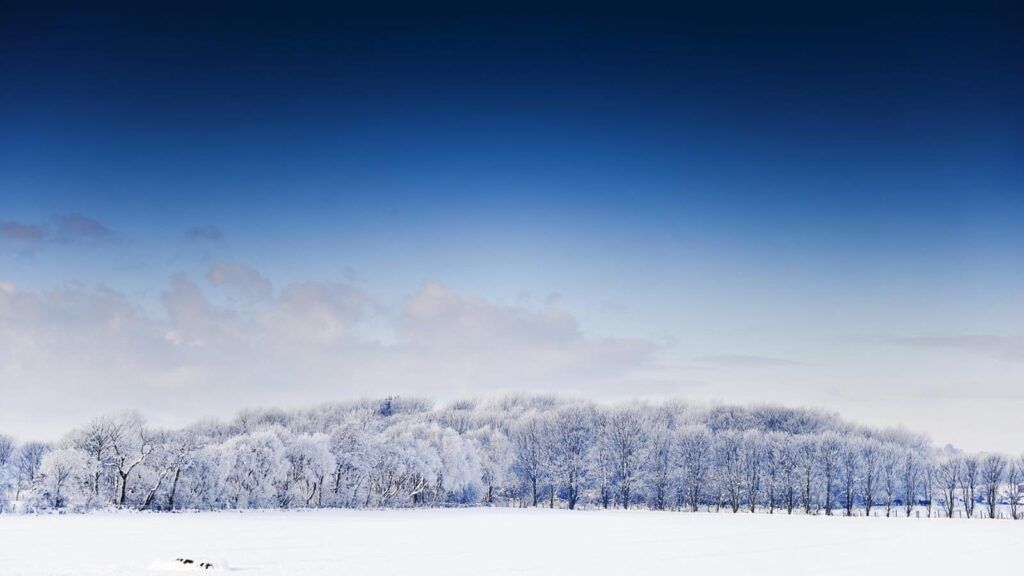
As a final top tip for winter shooting, bear in mind cameras will tend to under-expose in snowy conditions as the meter is fooled by the amount of white in the frame — use positive exposure compensation (+/- button) until things look natural: +0.7 stops is usually a good place to start.
The final photograph above shows how several of the techniques we have looked at come together — exposure compensation, white balance adjustment and the use of filters.

- Driven: Rolls-Royce Ghost Series II — Luxury evolved - 6 May 2025
- Driven by vision: The Aston Martin Lagonda Series 2 revisited - 22 April 2025
- Ogio Introduces Limited-Edition Agave Ahora Golf Bag Collection - 25 May 2024